Namespaces
Objectives
We are going to need a new tool, the concept of namespaces.
And our use case is going to evolve. We’re going to use a Firefox add-on called Foxy Proxy. In this context we will have a new way of organizing our structure files.
Prerequisites
We assume that Rougail’s library is installed on your computer.
It is possible to retrieve the current state of the various Rougail files manipulated in this tutorial step by checking out the corresponding tag of the
rougail-tutorialsgit repository. Each tag corresponds to a stage of progress in the tutorial. Of course, you can also decide to copy/paste or download the tutorial files contents while following the tutorial steps.
If you want to follow this tutorial with the help of the corresponding rougail-tutorials git repository, this workshop page corresponds to the tags 1.1_180 to 1.1_181 in the repository.
git clone https://forge.cloud.silique.fr/stove/rougail-tutorials.git
git switch --detach 1.1_180
Note
The purpose here is not to teach how to use the Foxy Proxy addon, but rather to explain that using this Firefox plugin will require us to make decisions about how to organize our variables.
We will store them in namespaces.
Namespace
The namespaces are a new, completely different way of separating and organising our structure files. We’re gonna see how. We will begin by adding a parameter to our Rougail CLI:
Now let’s pay attention to the -s parameter. This namespace option has the value Firefox.
What does this imply?
So far, to assign our user data to a structure file like this one:
firefox/60-dns_over_https.yml structure file%YAML 1.2
---
version: 1.1
dns_over_https: # DNS over HTTPS
enable_dns_over_https: false # Enable DNS over HTTPS
provider:
description: Use Provider
choices:
- Cloudflare
- NextDNS
- Custom
default: Cloudflare
disabled:
variable: _.enable_dns_over_https
when: false
custom_dns_url:
description: Custom DNS URL
type: web_address
validators:
- jinja: |-
{{ _.custom_dns_url.startswith("http://") }}
return_type: boolean
description: must starts with 'https://' only
disabled:
jinja: |-
{{ _.provider is propertyerror or _.provider != 'Custom' }}
return_type: boolean
description: if "_.provider" is not "Custom"
...
We had to enter user data of this new shape:
dns_over_https family---
dns_over_https:
enable_dns_over_https: true
But now that we have defined a namespace, we need to populate our user data in this shape:
dns_over_https family with the firefox namespace---
firefox:
dns_over_https:
enable_dns_over_https: true
Notice the difference: we have now a firefox namespace.
Contrary to a misinterpretation we might have upon first reading, it is not a family.
It’s a namespace.
What is the purpose of creating a namespace?
Well, this allows for logical grouping. We’ll be able to clearly separate the user data related to our Foxy Proxy plugin.
New “FoxyProxy” namespace
For those who follow the tutorial with the help of the git repository
Now you need to checkout the 1.1_181 version:
git switch --detach 1.1_181
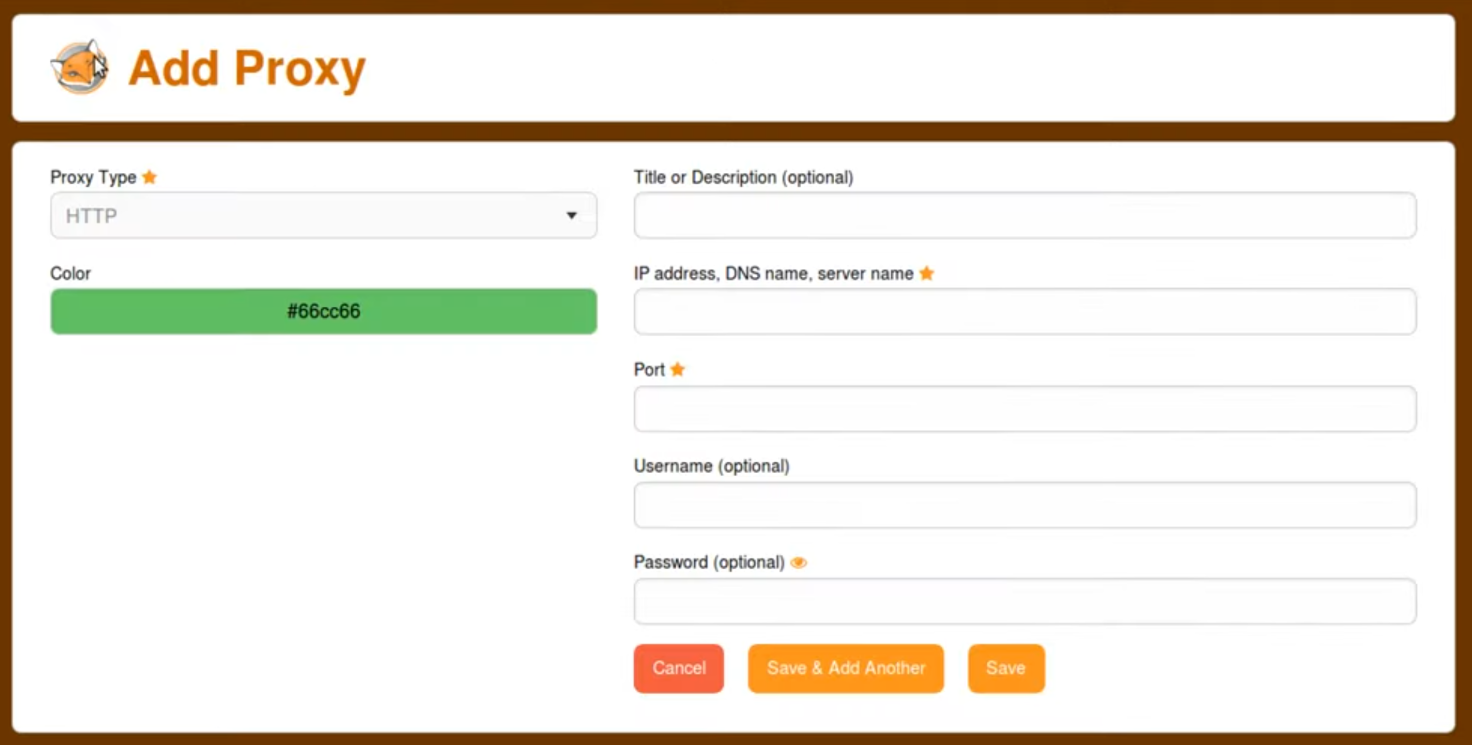
We can see in the FoxyProxy widget that it is possible to add as many proxies as needed.
So our use case enables us to handle variables related to the Foxy Proxy plugin that should be stored in a separate namespace.
Handling multiple namespaces
It is perfectly possible to define multiple namespaces with Rougail.
In the Rougail CLI, the -s option is reserved for the main namespace.
If we need to add a namespace named FoxyProxy, we must use the -xn FoxyProxy option.
However, we also need to specify the parameter that indicates the location
of the structure files corresponding to this namespace.
The -xd 0 foxyproxy/ option is used to specify the relevant file or folder,
here, the foxyproxy folder:
The additional namespace is therefore specified via the two command-line options:
-xn FoxyProxy -xd 0 foxyproxy/
let’s review the key points
We learned how to create a namespace for our use case, and even how to use multiple namespaces—that is, how to implement several logical separations.